Lap Marks — Why You See the Seams and How to Roll Them Out
Lap marks are visible bands where the wet edge dried before the next pass overlapped. Diagnose the cause, fix existing marks, and roll the next wall right.

Lap marks aren’t a paint problem. They’re a discipline problem. The wet edge dried before the next pass got there, and now you can see every seam where two rolls met under the morning sun. Fix the technique, condition the paint when the room is fighting you, and the wall reads flat from any angle.
Does this match what you’re seeing?
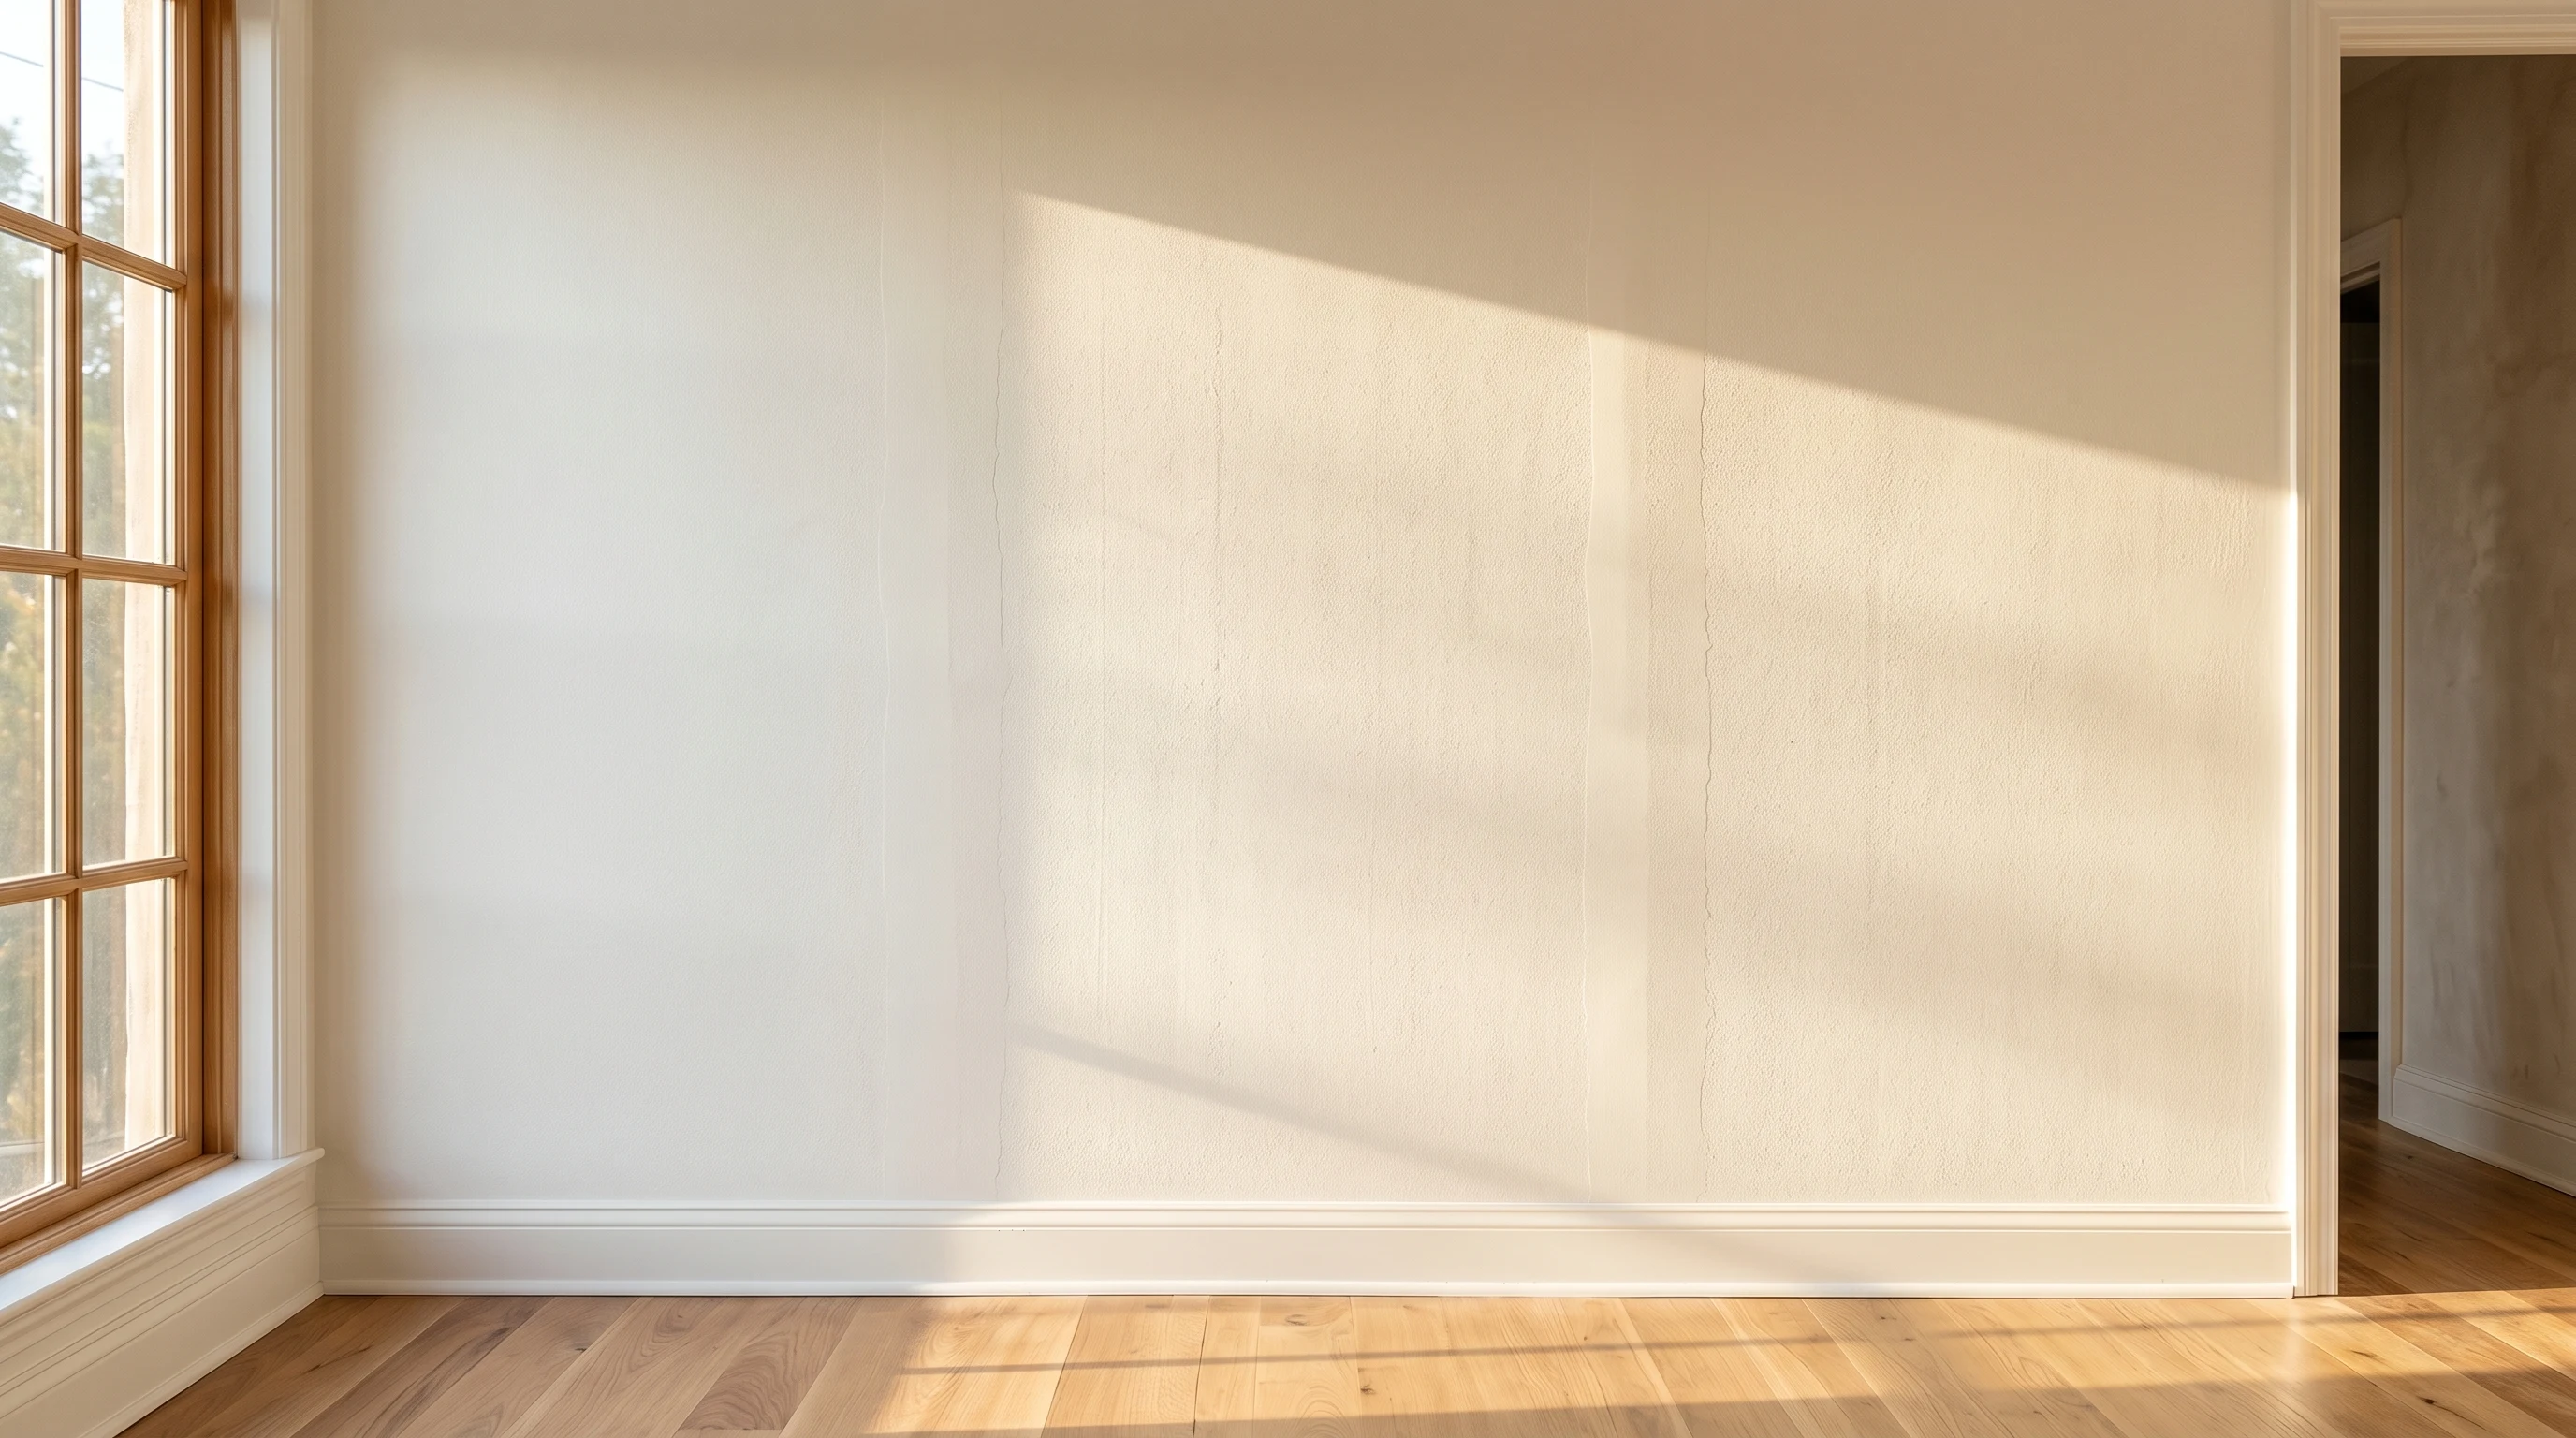
Look at the wall under raking light from the side. You’ll see one of these.
- Faint vertical bands every 3 to 4 feet. Classic lap marks. Wet edge died between roll sections.
- One darker stripe near a corner or doorway. Cut-in band dried before the roller caught up.
- Horizontal bands, no vertical seams. You stopped mid-wall. The line tracks the height where you stopped.
- Sheen difference in the same direction across the wall. Roll pattern problem. One swath went right-to-left, the next left-to-right, and the directional sheen reads as bands.
- Bands on the ceiling running toward a window. Ceiling dried faster than the wall would have, and you rolled toward the light instead of away from it.
If the bands are everywhere and the wall feels rough at the seams, you over-stretched the paint and the film broke up.
How serious is this
Cosmetic. The film is bonded, sealed, and doing its job. You can live with the wall for a decade and nothing bad happens. What you can’t do is stop seeing them once the morning sun lands sideways on the wall.
A second coat over the entire wall fixes the problem in almost every case. The trap is patching just the lap zone, which creates a new seam next to the old one. Whole wall, corner to corner.
Why lap marks happen (root cause)
Three causes account for almost every set of bands I’ve seen on a finished wall. Ranked by how often they show up.
1. The wet edge died too soon. Most modern latex stays open 5 to 15 minutes at 70°F and 50 percent RH. Above 80°F or below 40 percent RH, that drops to 3 to 5 minutes. You painted a section, went around the corner, mixed paint, answered the phone, and the leading edge dried. The next pass meets a dry edge instead of a wet one, the film thickness at the join doesn’t merge, and you get a visible seam. This is 80 percent of every lap mark on every job I’ve worked.
2. Roll pattern wrong. Rolling left-to-right then right-to-left in alternating swaths leaves a directional sheen difference where the nap laid the paint down differently in each pass. Pick one direction. W-pattern or zigzag first, then smooth top-down across the whole wall, never back-and-forth.
3. Paint film too thin. Stretching one gallon to do a coat-and-a-half breaks the film at the edges of each pass. It thins to nothing where two stretched passes meet, and the seams telegraph as a thinner band. Two coats at proper film thickness solve it.
A fourth one shows up. Painting in direct sun or above 85°F. The film flashes off before the roller can lay it down. Wait for shade.
The fix for existing lap marks
Repair is the same regardless of cause.
Step 1. Sand the raised seams
Use 220 grit on a sanding sponge. Light pressure, work the seam until your fingertip can’t feel a ridge across it. Don’t sand past the seam into the surrounding paint or you’ll dull the sheen on the rest of the wall and create a different problem. Wipe with a tack cloth or a damp microfiber.
Step 2. Spot-prime if you sanded through
Anywhere you sanded down to the underlying coat or to drywall, spot-prime with a quick-dry primer. Zinsser Bulls Eye 1-2-3 for general work, Zinsser BIN for a deep gouge that hit the substrate. Twenty minutes dry, then move on.
Step 3. Recoat the entire wall, not the lap zone
Roll over just the seam and the new paint won’t blend with the rest of the wall. You’ll make one mark into two. Roll the whole wall corner-to-corner, top-to-bottom, in one session. Cut in fresh edges. Don’t stop until the wall is done.
How to roll without lap marks (the technique)
The discipline is the fix. Numbered because the order matters.
- Cut in only what the roller can catch in 5 minutes. Cut a section of corner, roll into it while the cut-in is wet, repeat.
- Divide the wall into 3 to 4 foot wide vertical sections. Mental lines. Each section should fit one fully loaded roller’s worth of paint.
- Load the roller heavy. A starved roller leaves a thin film, and a thin film leaves bands.
- Top to bottom, then back up to fill. Zigzag or W down the section, then smooth top-down across the same area.
- Overlap the next section by 4 to 6 inches into wet paint. This is the move. The leading edge has to land on still-wet paint. If the last edge has gone matte, you’ve already lost.
- Don’t stop mid-wall. Bathroom, phone, paint mix. Finish the wall. Stopping creates a horizontal lap line at the worst possible height.
- Same direction every section. Right-to-left in one section then left-to-right in the next changes the nap pattern, and the sheen reads as bands even with no thickness difference.
Ceilings get rolled away from the light
Ceilings dry faster than walls because warm air rises and the film loses moisture upward. The natural light source raking across the ceiling is the worst possible reveal.
Start at the wall closest to the light source and roll AWAY from it toward the opposite wall. The trailing edge of each pass catches light first as you work backward, so any seam falls into the leading edge of the next pass where it’s structurally hidden. Same direction across the whole ceiling, never alternating.
Big rooms? Two people. One cuts in 5 feet ahead, one rolls. Speed is the only defense once the room is over 200 square feet.
Floetrol, the latex paint conditioner
When the room is hot, dry, big, or all three, technique alone isn’t enough. Floetrol fixes that.
Half a cup per gallon, stirred in. Adds 30 to 50 percent to open time without thinning the film, without changing color, and without changing dry-to-touch by more than a minute or two. The contractor cheat code for any wall over 12 feet wide, any ceiling over 200 square feet, and any job pushing 80°F.
It does not fix bad technique. A starved roller with Floetrol still leaves bands. What it does is widen the window where good technique works. Sold by Flood (a PPG brand). Around $15 a quart, treats six to eight gallons.
High-temperature jobs: spray and back-roll
Past 85°F, or in direct sun, rolling alone is a losing fight no matter how much Floetrol is in the can. The film flashes before the roller catches up.
Spray-and-back-roll is the pro move. Spray a section with an airless to lay down a uniform film, then back-roll with a dry roller within seconds to even the texture. The sprayer keeps the field uniform. The back-roll evens nap and pushes paint into pores. No two roll passes ever overlap a dried edge because the sprayer never stops to refill.
Two-person job, sprayer rental around $80 a day. Worth it on summer exteriors and big vaulted interiors. Not worth it on a 10x12 bedroom you can roll in 30 minutes with Floetrol in the can.
Safety
Eye protection during ceiling work. Paint drips from any roller pointed up. Cross-ventilate while painting, especially with conditioners or any spray work. Never mix paint conditioners with bleach, ammonia, or hydrogen peroxide cleaners on the wall before painting. Toxic gas. If you cleaned the wall with one of those, rinse with clean water and dry 24 hours before any paint goes on.
Common DIY mistakes
- Cutting in the whole room before rolling. The brush line is dry by the time the roller gets there. Cut and roll in matching sections.
- Stopping mid-wall. Phone, bathroom, paint mix. Finish the wall.
- Alternating roll direction. Right-to-left on one section, left-to-right on the next. Same paint, same wall, sheen reads as bands. Pick a direction and stay with it.
- Stretching one coat to save a second. Thinned film breaks at the seams. Two coats at proper thickness, every time.
- Patching a lap mark with a partial recoat. Creates two marks instead of one. Whole wall, corner to corner.
- Rolling toward the window on a ceiling. Light hits the leading edge first and reveals every seam. Roll away from the light source.
Recommended product
Floetrol earns its shelf space. Half a cup per gallon adds 30 to 50 percent to your open time, lets you actually overlap the wet edge on big walls, and disappears in the cured film. No color shift, no LRV change, no compatibility issues with any latex or acrylic paint sold in the U.S.
For oil-based paints, the same brand sells Penetrol. Same shelf, different bottle, don’t mix the two up.
Prevention
- Plan the wall before you load the roller. Cut where you’ll start, where you’ll stop, how many sections, where the light will land tomorrow morning.
- Add Floetrol to anything over 12 feet wide or 70°F. Half a cup per gallon. Buy a quart, treat eight gallons, never think about it again.
- Two coats. Always two coats. One-coat coverage is a marketing claim. Two coats at proper film thickness eliminate most lap marks before they form.
- Use a 3/8 or 1/2 inch microfiber roller, not a cheap polyester one. Microfiber holds more paint and lays a more uniform film.
- Don’t paint in direct sun, above 85°F, or below 50°F. The label says it for a reason.
- Roll ceilings away from the natural light source. This one rule eliminates 90 percent of ceiling lap marks before they happen.
When to call a pro
- Whole-house repaints with vaulted ceilings or stairwell walls over 12 feet tall. Spray-and-back-roll is the right tool and the rental plus the safety setup adds up.
- Heritage homes with horsehair plaster or skim-coated walls where any sanding to fix a lap mark risks more damage than the seam itself.
- Commercial spaces with raking architectural light (gallery walls, retail) where the tolerance for any band is zero. Pros use spray on these.
- Pre-1978 home where you’d be sanding lap marks. Lead test before any sandpaper touches the wall. See how to fix peeling paint → for the RRP rules.
What’ll bite you in two years
You’ll repaint this wall again. If the underlying coat has lap marks and you roll fresh paint over it, the seams telegraph through. Two coats over a banded wall doesn’t hide the bands. It copies them. Sand the whole wall to 220 grit before the recoat, not just the lap zones. Skip that and the next paint job has the same bands as the last, in a different color.