How to Paint Plywood: Birch, Oak, Fir, and T1-11 Siding
Plywood paints clean if you know the face species, the grade, and the edges. Full prep-to-topcoat guide for cabinets, shelving, paneling, and exterior siding.

Two coats. Always two coats. And before the first one, figure out what kind of plywood you’re actually holding, because birch on a bookshelf and T1-11 on a barn need different primers, different topcoats, and different patience.
TL;DR
- Identify: face species (birch, oak, fir, pine) and grade (A through D)
- Prep: sand 180 face, 120 edges; vacuum and tack
- Fill edges and voids: paintable wood filler, sanded flush
- Knot sealer: Zinsser BIN on every visible knot in pine or fir face
- Primer (interior): Insl-X Stix or Bulls Eye 1-2-3, pre-prime edges first
- Primer (T1-11 exterior): Zinsser Cover Stain (oil), full coat
- Paint (interior): waterborne alkyd or 100% acrylic, two coats
- Paint (T1-11): BM Aura Exterior or SW Duration, two coats high-mil
What plywood actually is
Plywood is thin layers of wood veneer glued together with the grain alternating ninety degrees per layer. The two faces (front and back) are usually a better species than the inner plies. The face is what you see; the core is what holds it together; the edges expose the alternating end-grain of every ply at once.
That last part is why plywood edges are fussy. You’re not painting a wood edge. You’re painting a cross-section of five to seven separate end-grain layers, each absorbing differently.
Identify what you’re holding before you open a can
Three things matter: the face species, the grade, and whether it’s interior or exterior.
Face species drives the primer choice.
- Birch is the friendliest. Tight close grain, almost no visible knots, neutral color. Paints clean under a waterborne bonding primer.
- Oak has open pores and visible grain pattern. Tannin-rich, with the same yellow-brown bleed problem you get on solid oak. BIN shellac under the primer if you’re going white.
- Fir is what most cabinet-grade plywood used to be and what most exterior plywood still is. Knots, resin pockets, prominent grain. Knots get spot-sealed with BIN; the face takes a bonding or oil primer.
- Pine face plywood (sanded-pine, sometimes labeled “AC pine”) has the most knots and the most resin. Treat every visible knot with BIN twice before any primer.
Grade is a letter pair, face-back. A is sanded smooth and clear, B has a few small repairs, C is unsanded with knot holes, D is rough with large defects. AA is best, CDX is roughest. For paintable interior work, A or B face is the floor. Anything below shows through. CDX is for sheathing where nobody looks.
Interior versus exterior is about the glue. Interior plywood uses urea-formaldehyde glue that fails in water. Exterior plywood uses phenolic glue. T1-11 siding is a specific exterior product: vertically grooved fir or pine plywood, designed to look like board-and-batten from twenty feet away. It is not interchangeable with interior cabinet plywood, no matter what the rack at the lumber yard suggests.
Why the edges always need work
End grain on a plywood edge absorbs three to five times the paint of the face. That’s not an exaggeration. Pour a drop of water on the face and it beads. Pour a drop on the edge and it disappears in seconds.
If you don’t pre-prime the edges, the first coat drinks in, the edges read darker and blotchier than the face, and your topcoat never evens out. Worse, on cheaper grades the edge has open voids (gaps between core plies that look like little black eyes). Those need filler before any primer goes anywhere.
Hit the edges with paintable wood filler, press it into every void, sand flush at 120 once dry. Then prime the edges with a brush, let them dry, then prime the face. The order matters.
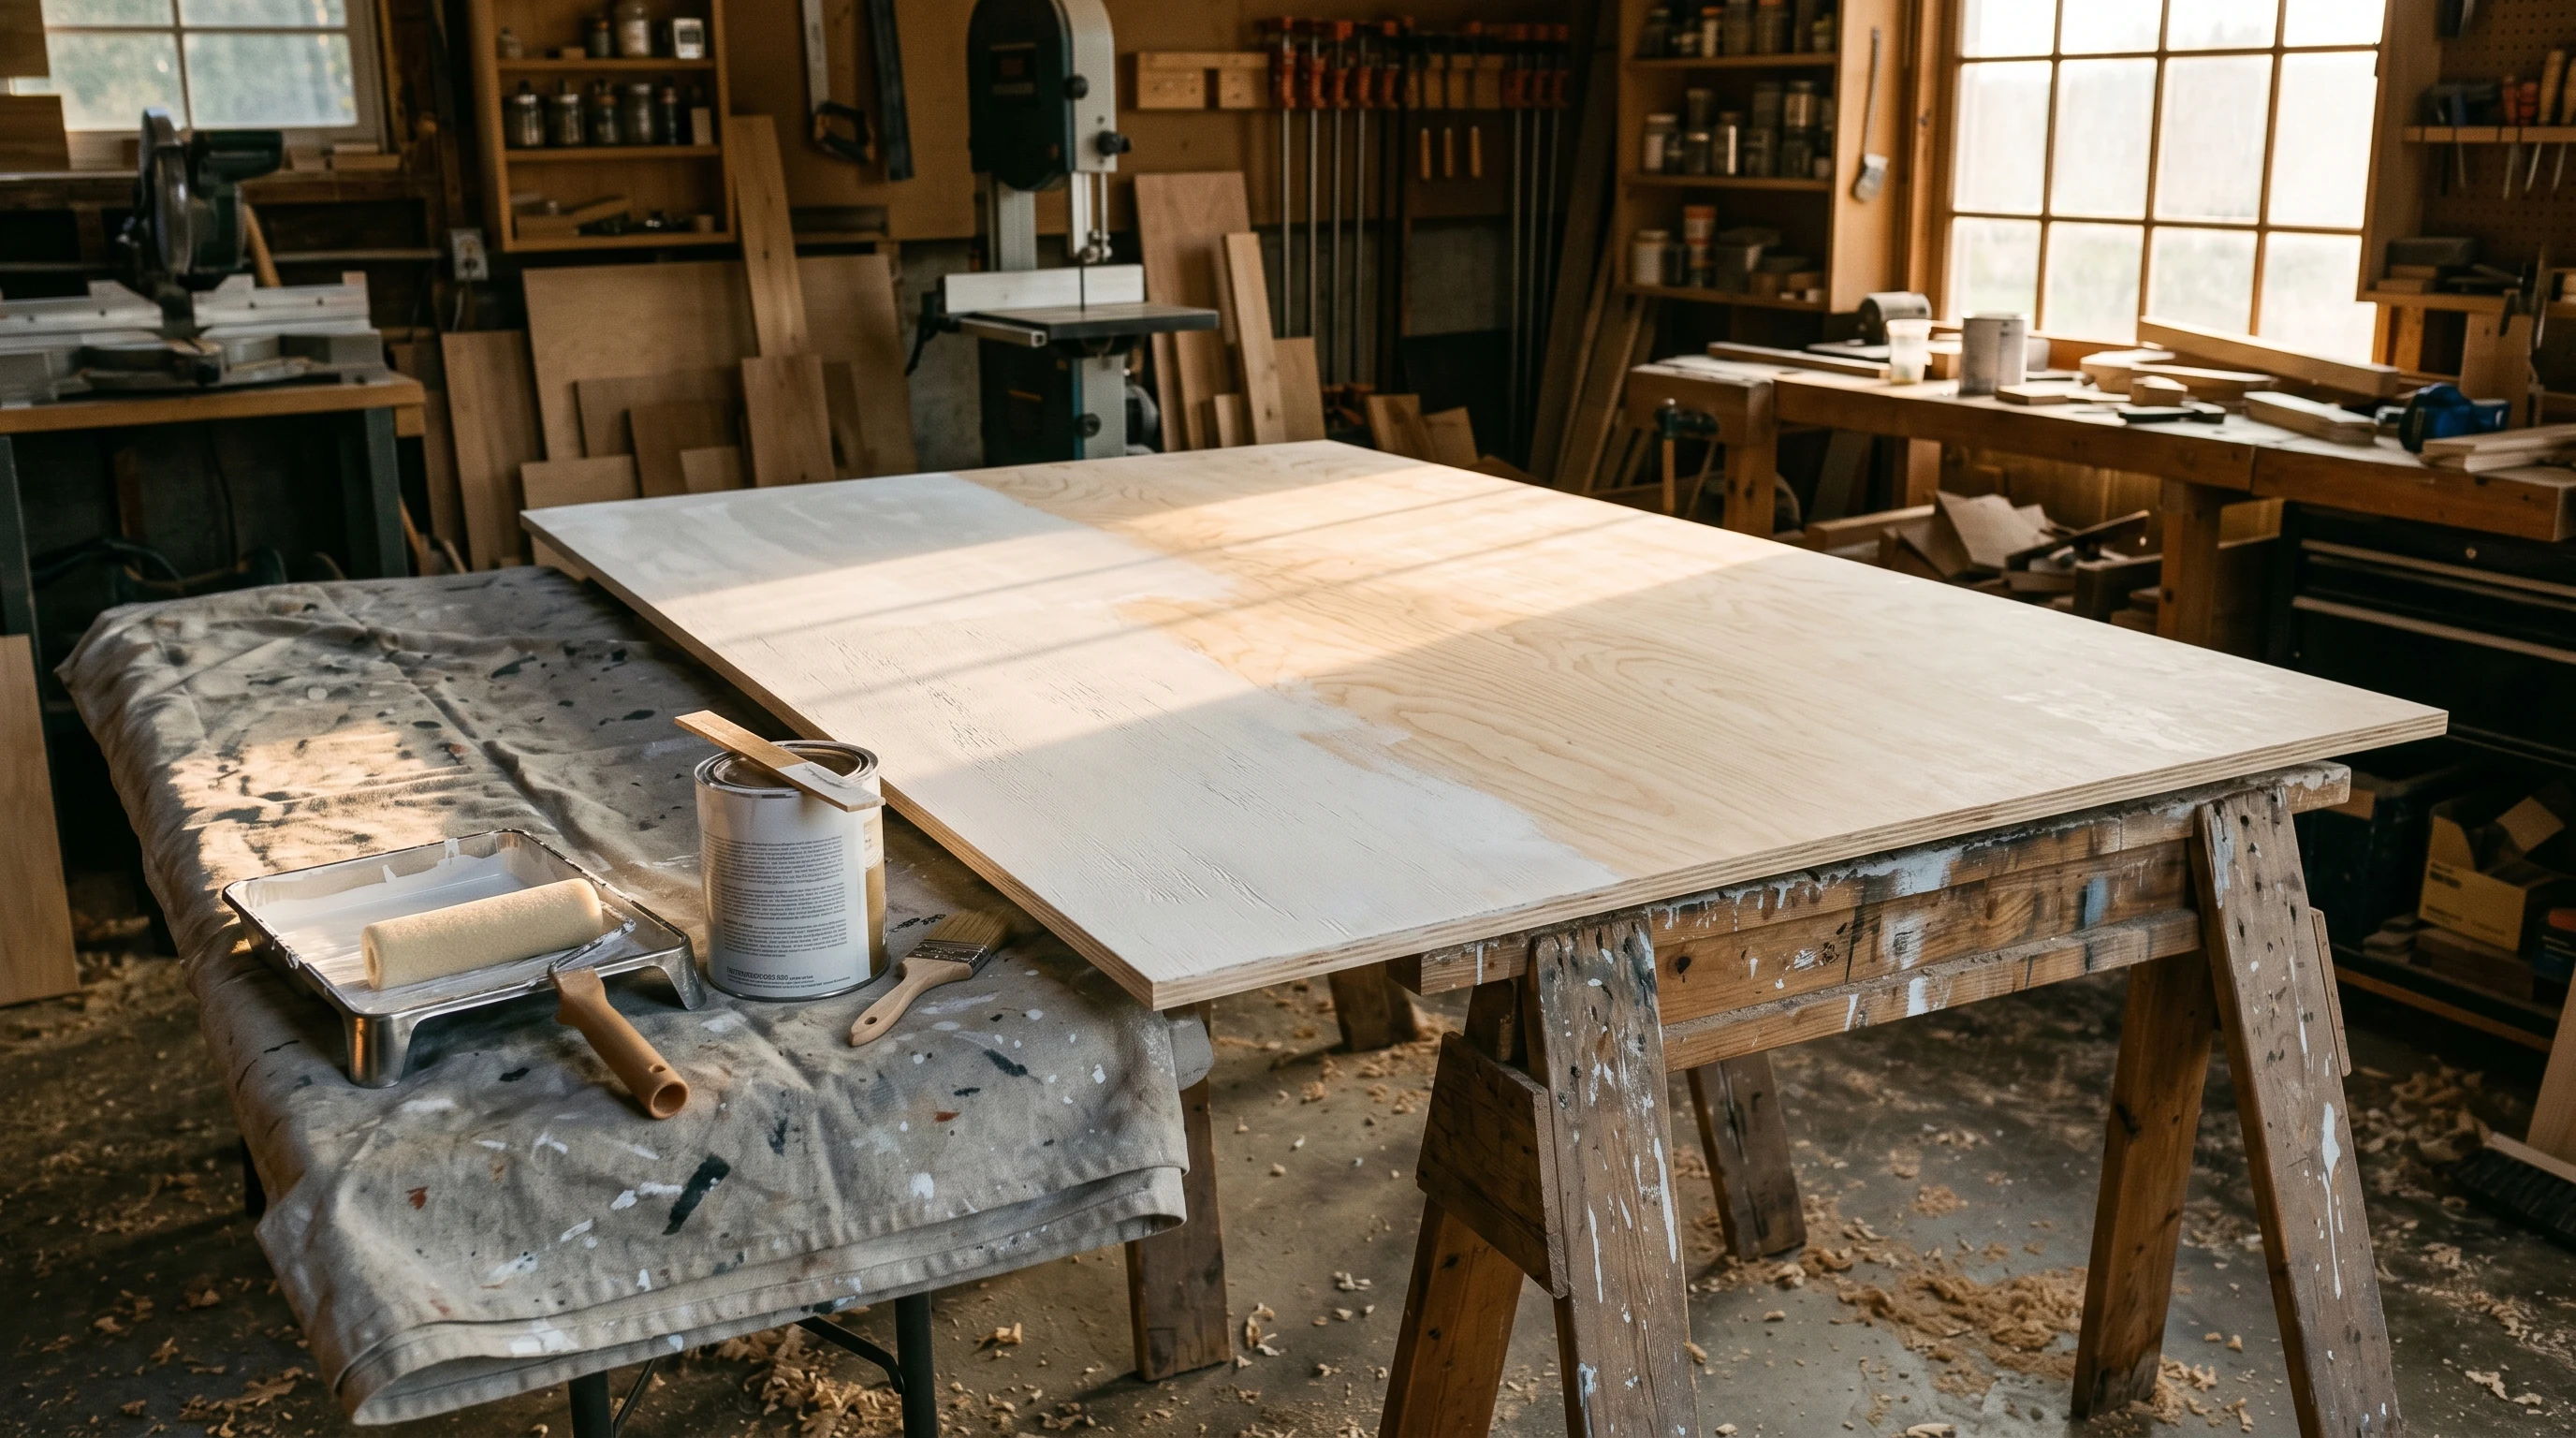
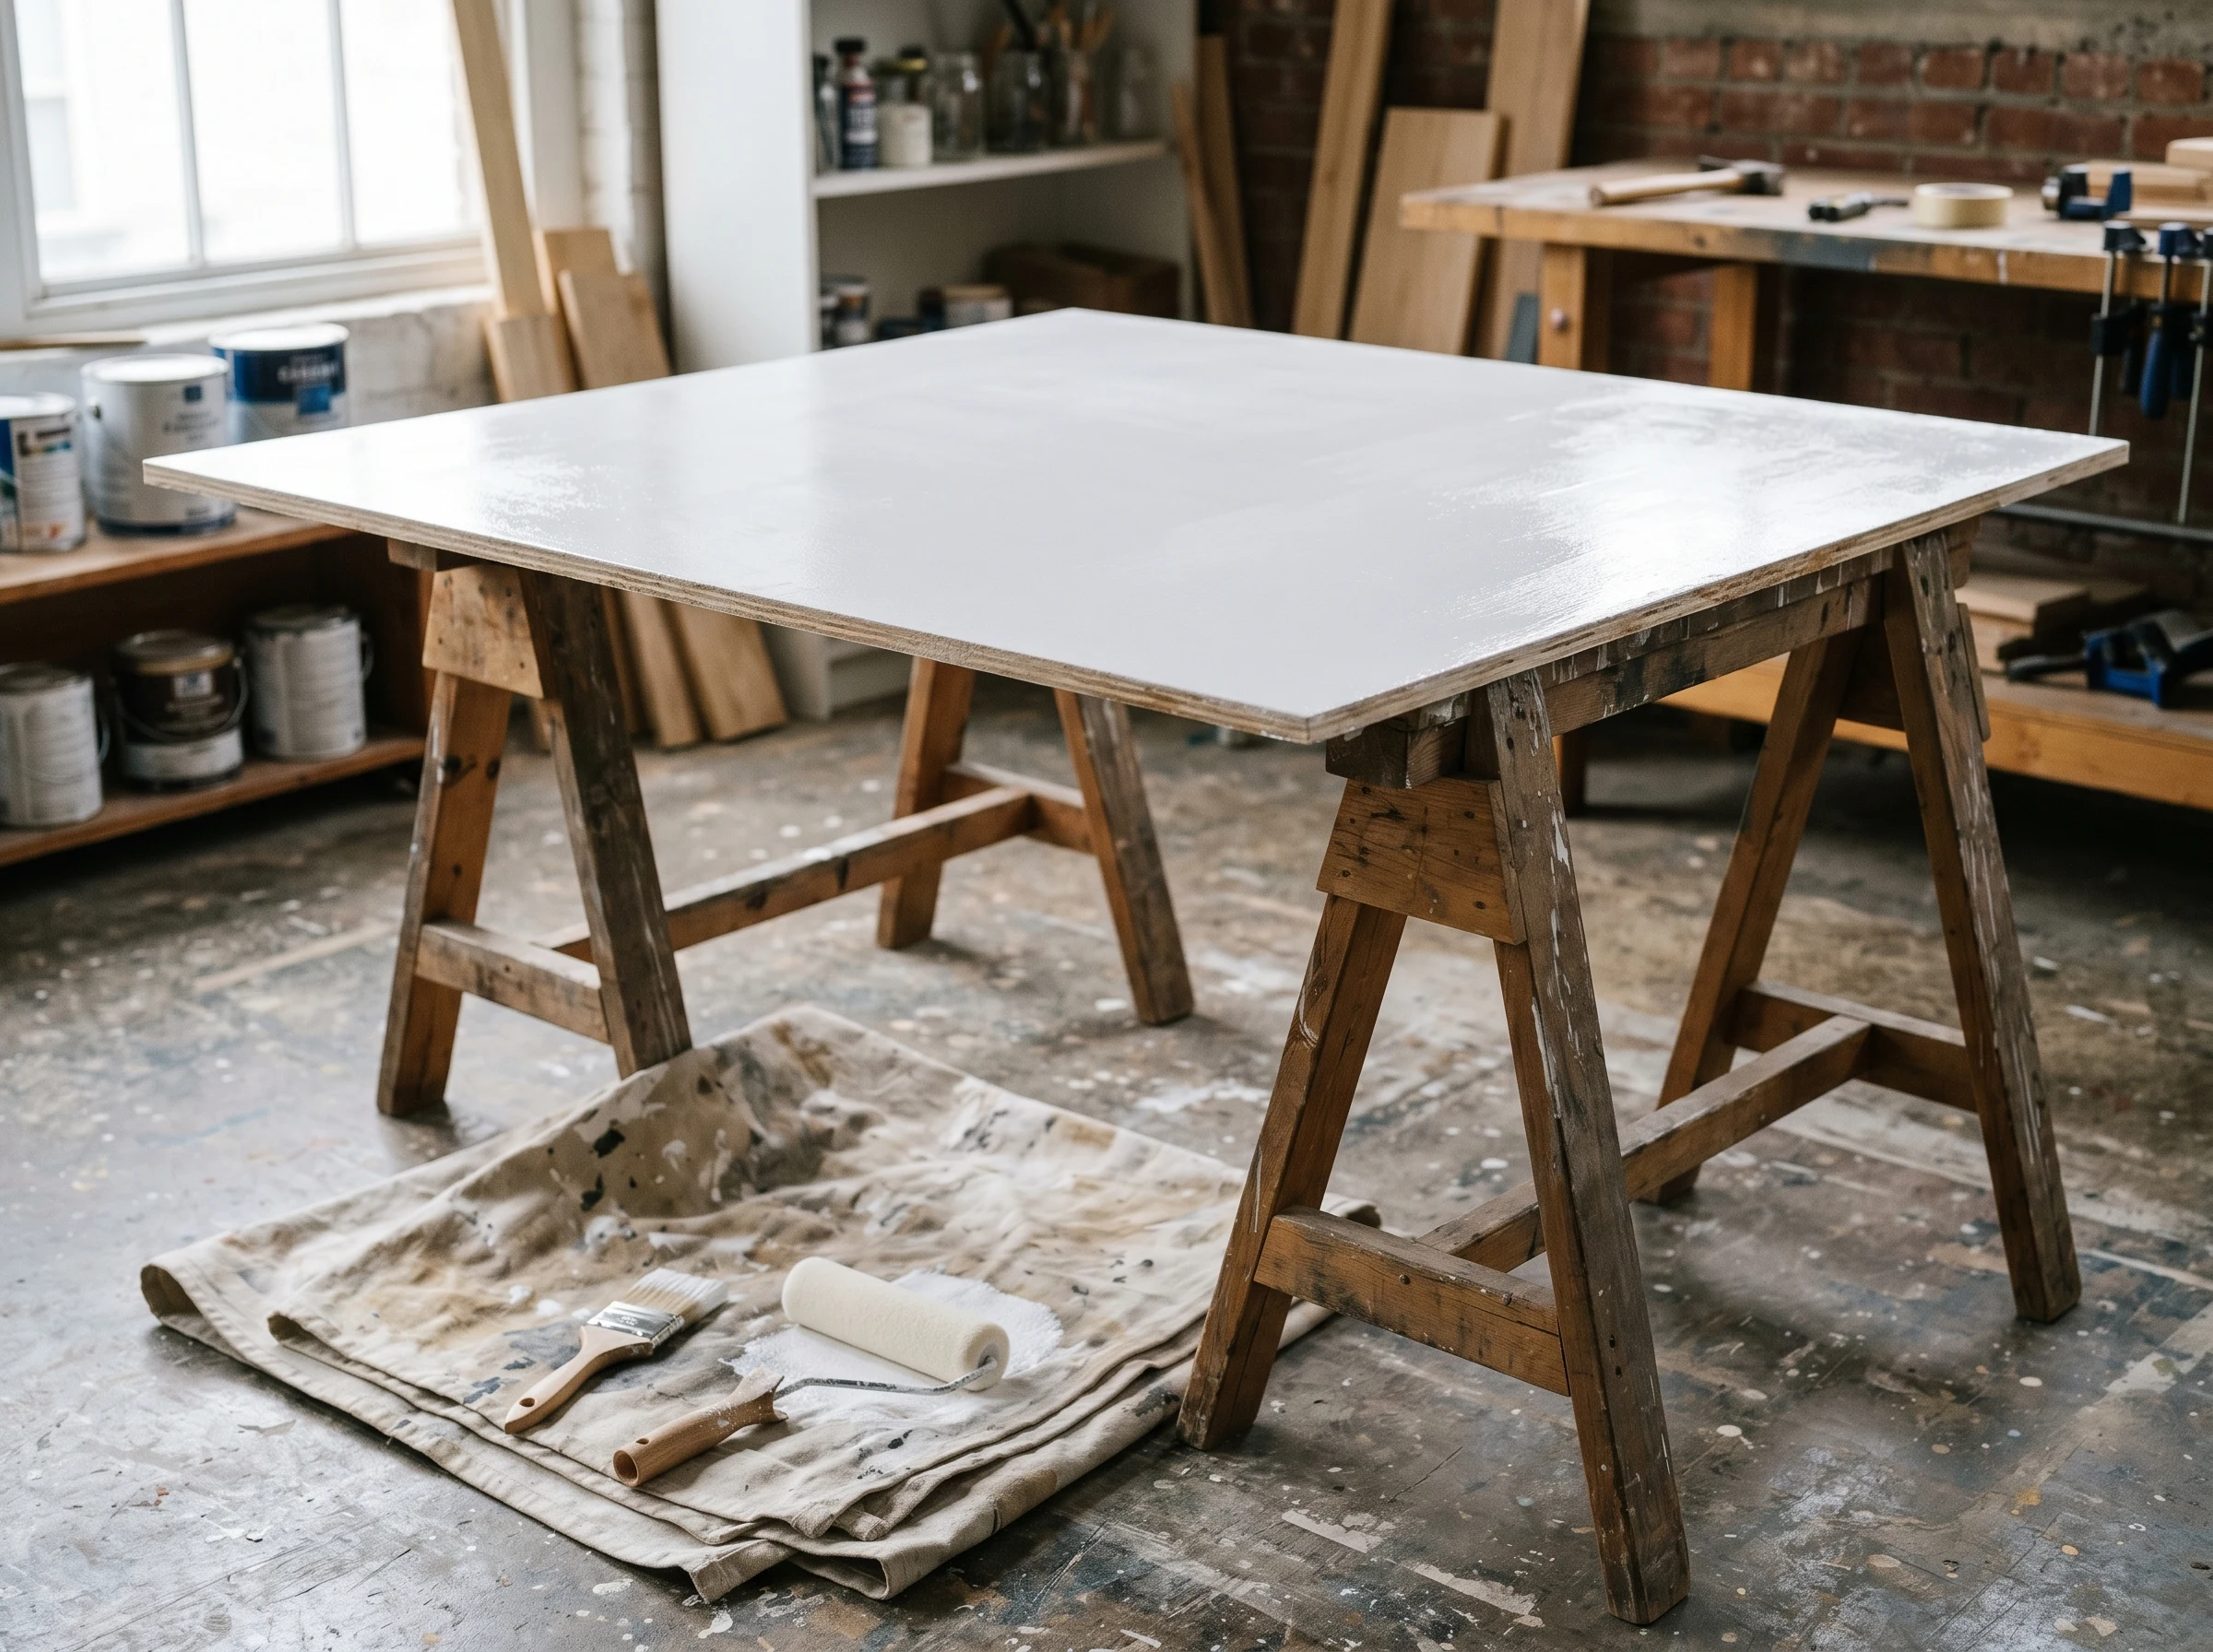
Step 1: Clean and sand
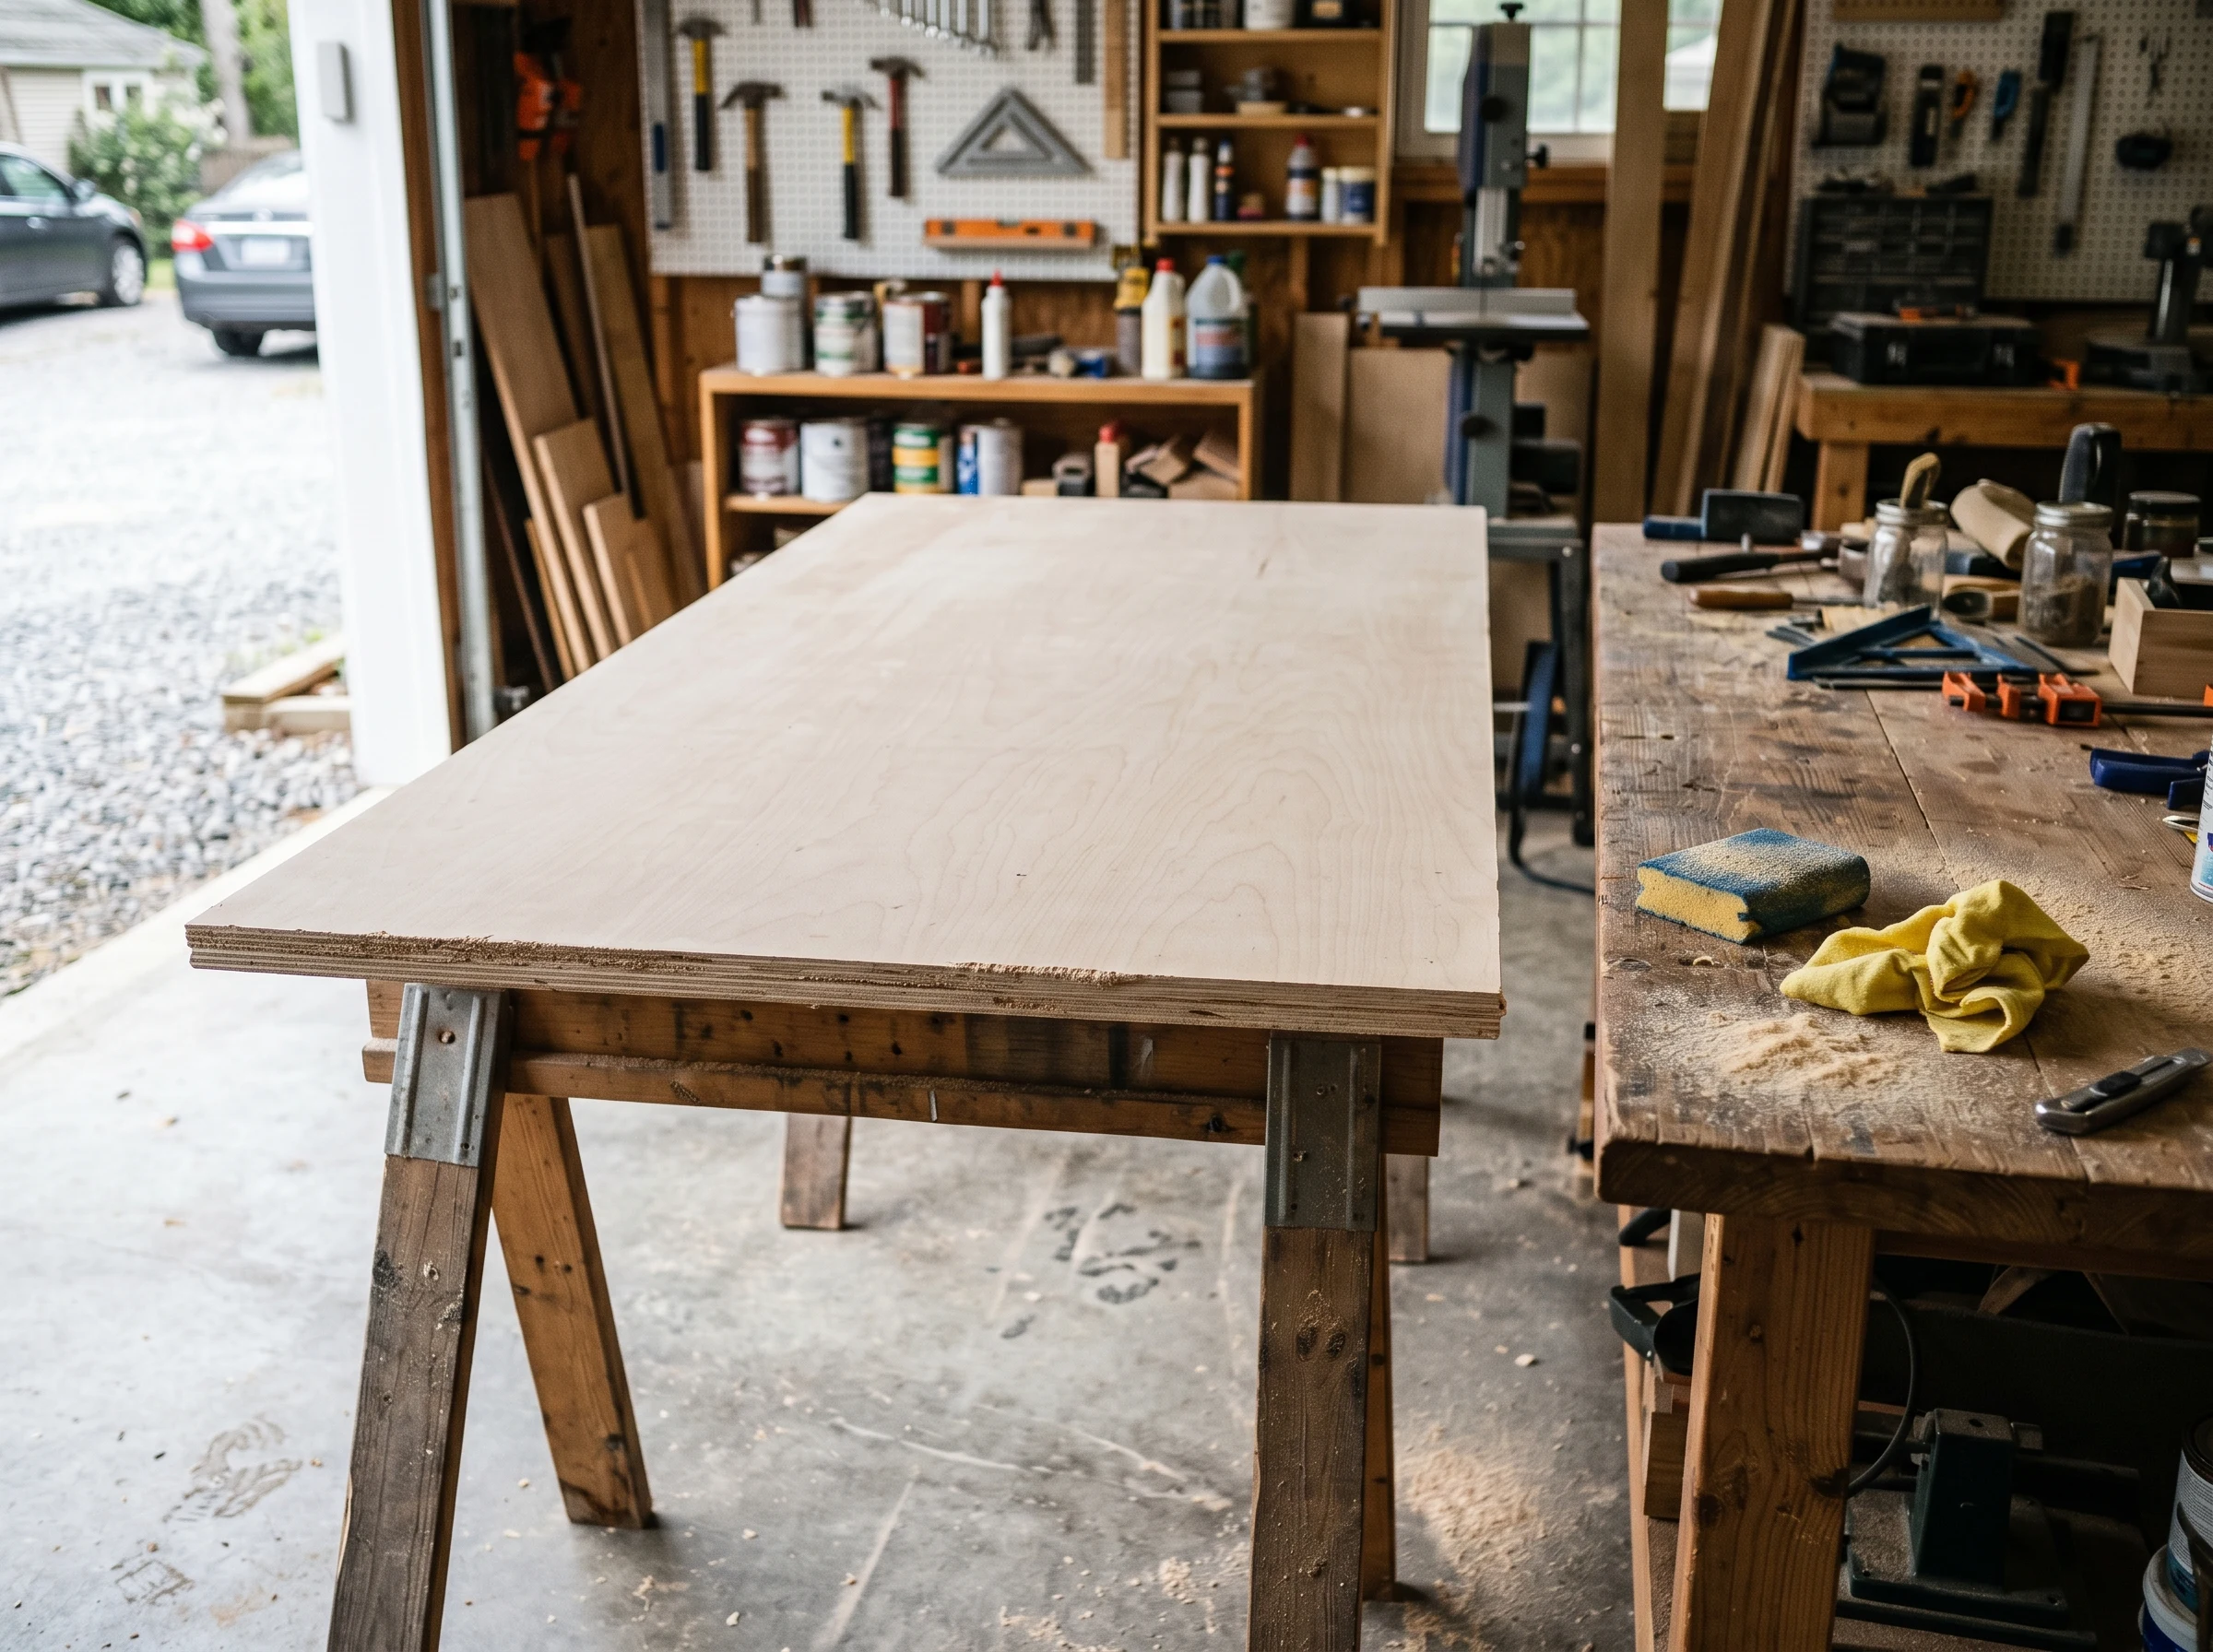
180-grit on the face to kill the saw burr, 120 to flatten the edges. Dust pulled before anything else.
New plywood is dirty. Mill oil, dust from the rack, the powdery residue that sticks to your hands when you carry a sheet. Wipe down with a TSP solution on a damp rag, let it dry an hour.
Sand the face at 180-grit. Even A-grade sanded plywood has a saw burr on the cut edges and a fine mill glaze on the factory face that primer doesn’t bite into well. Sand the edges at 120; they’re rougher and need more aggression. Vacuum every surface and follow with a tack cloth.
If you skipped this and went straight to primer, you’ll see fuzz along every cut line as the primer dries. That’s the burr lifting. Sand it back, prime again.
Step 2: Fill knots, voids, and seams
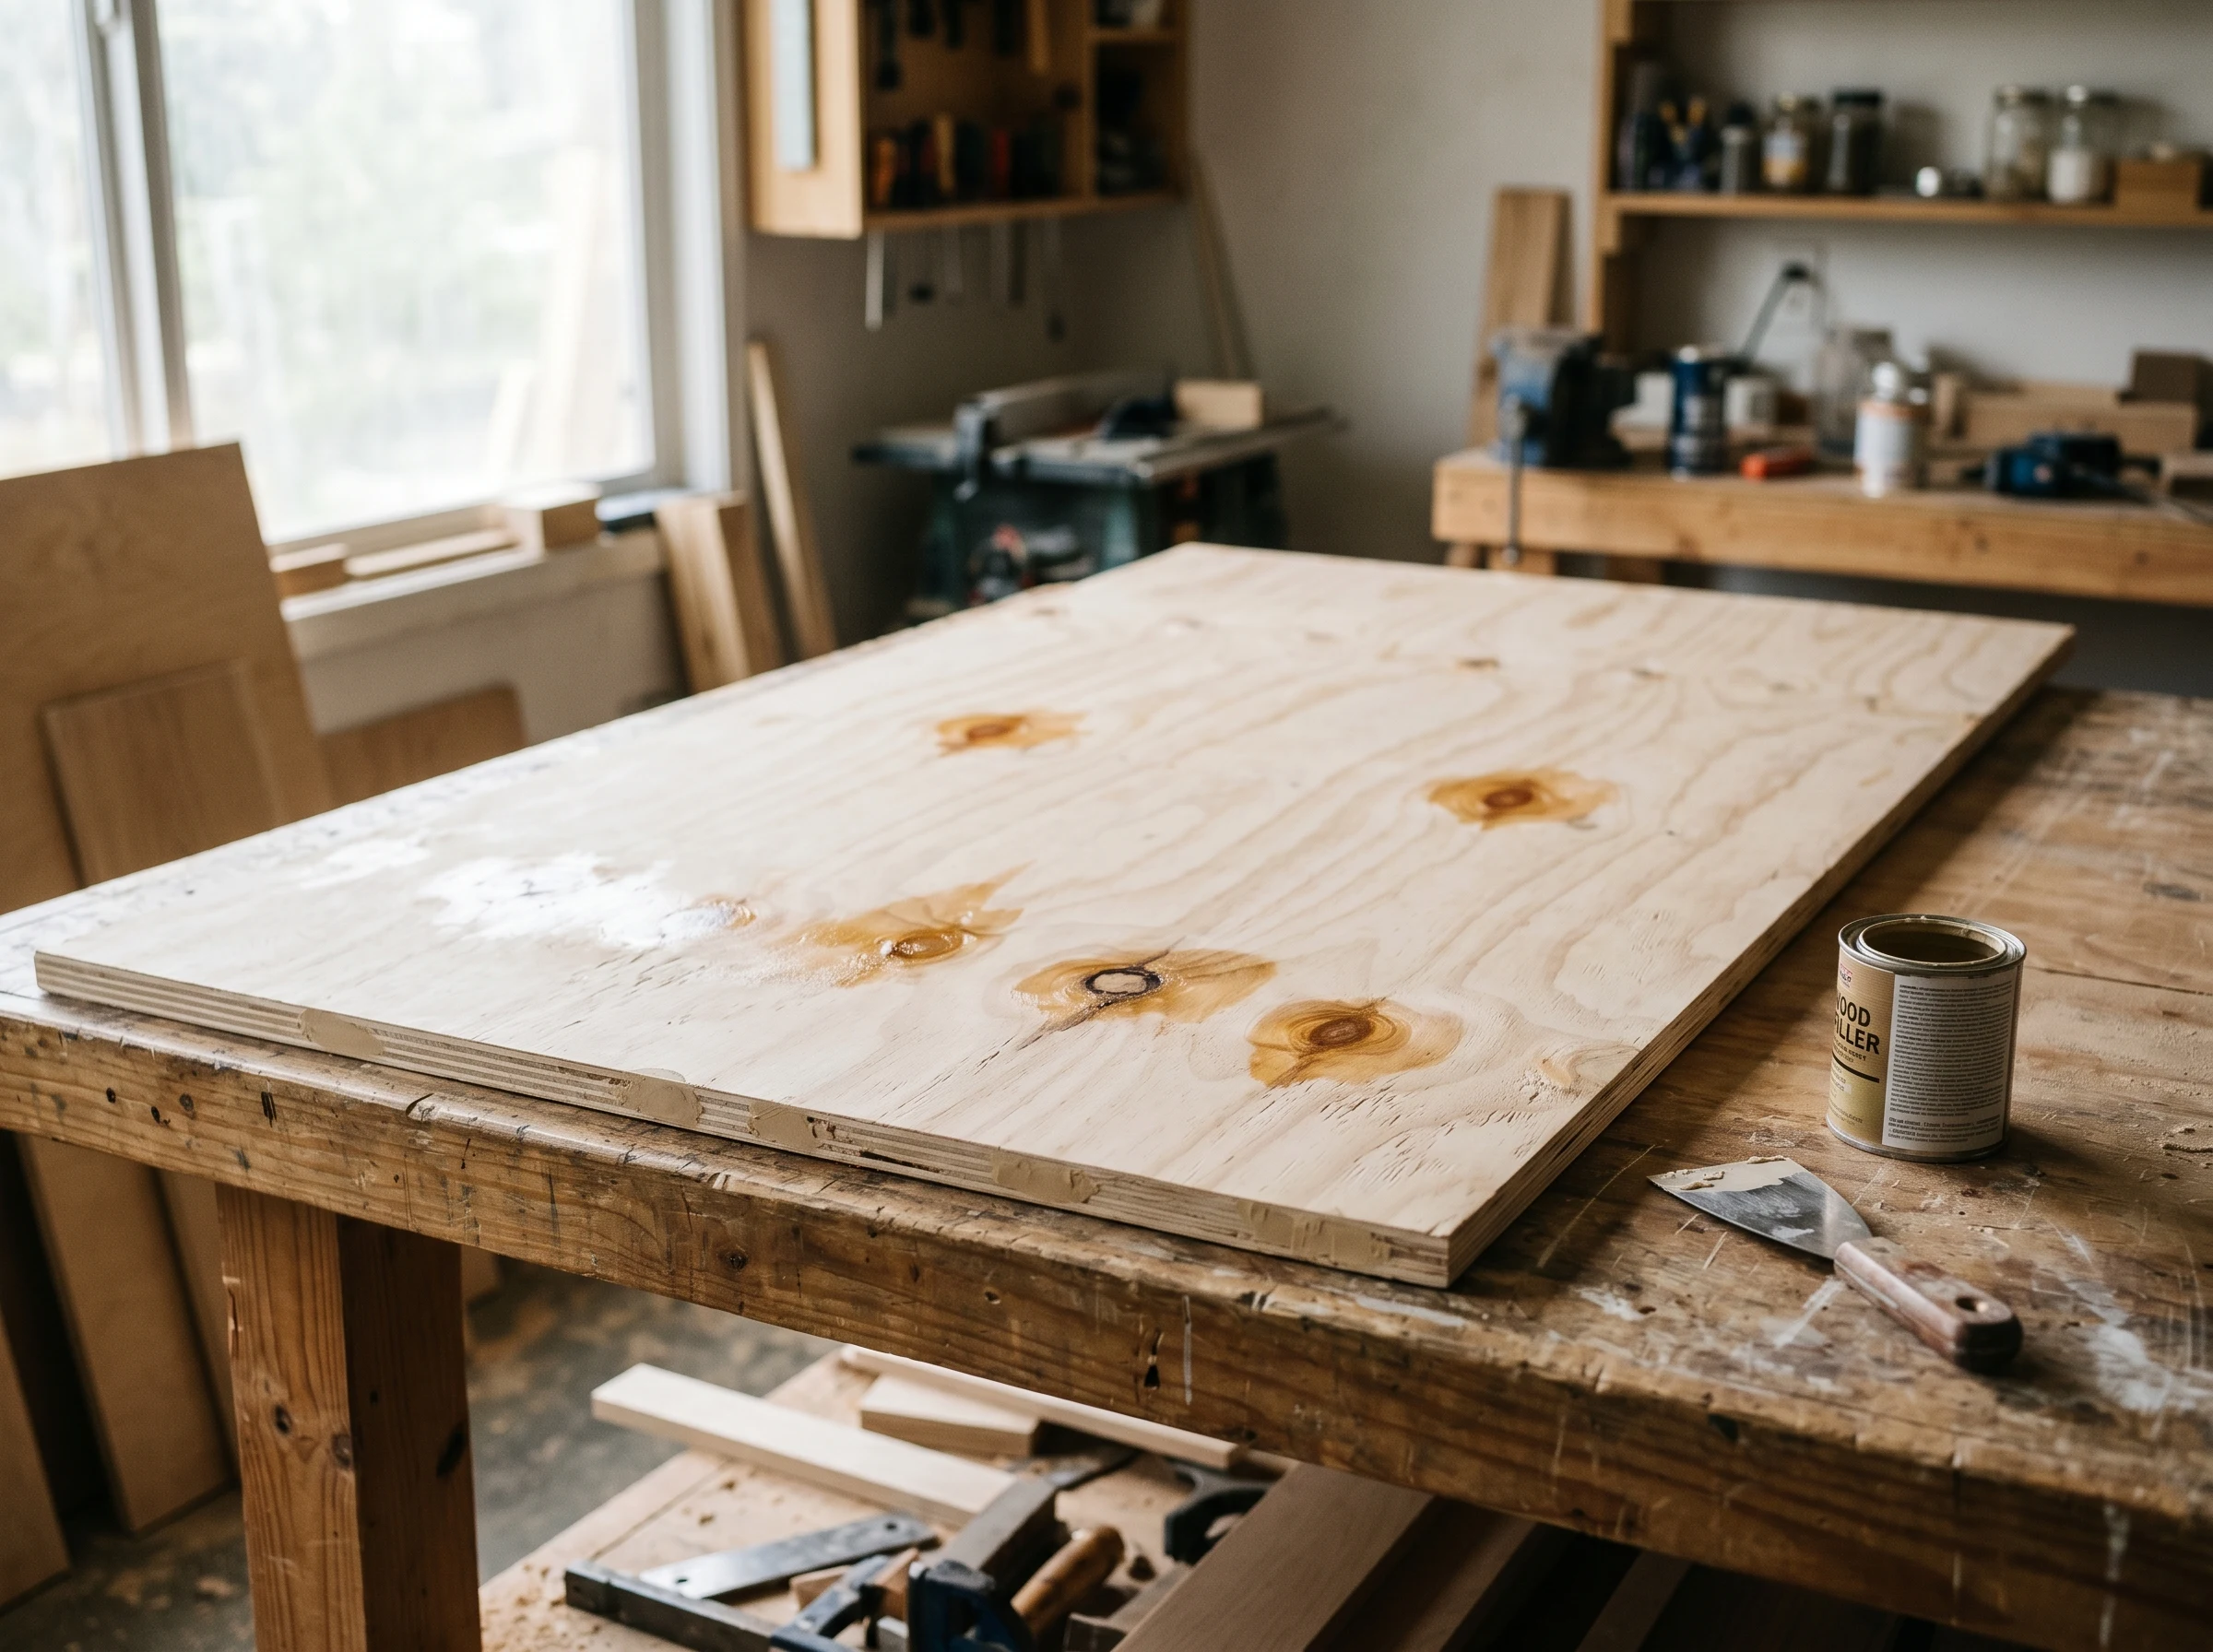
BIN dabbed onto every visible knot, wood filler pressed into edge voids and seam gaps. Flush, then sand back.
Two separate jobs here. Voids in the edge plies get paintable latex wood filler, applied with a 1.5-inch flex putty knife, slightly overfilled, sanded flat at 24 hours.
Knots on a fir or pine face get BIN shellac primer, two thin coats with a small artist’s brush, fifteen minutes apart. Birch and most oak skip this step. Pine and fir always need it. Skip BIN on a knotty pine plywood face and the resin will leech up through any latex topcoat within weeks. You’ll see amber rings the first warm afternoon.
For T1-11 specifically, the vertical grooves often hide small splits and end-grain blowouts. Pack those with filler too. The grooves themselves don’t need filling (they’re a design feature), but any actual gap in the panel does.
Step 3: Pre-prime the edges, then prime the face
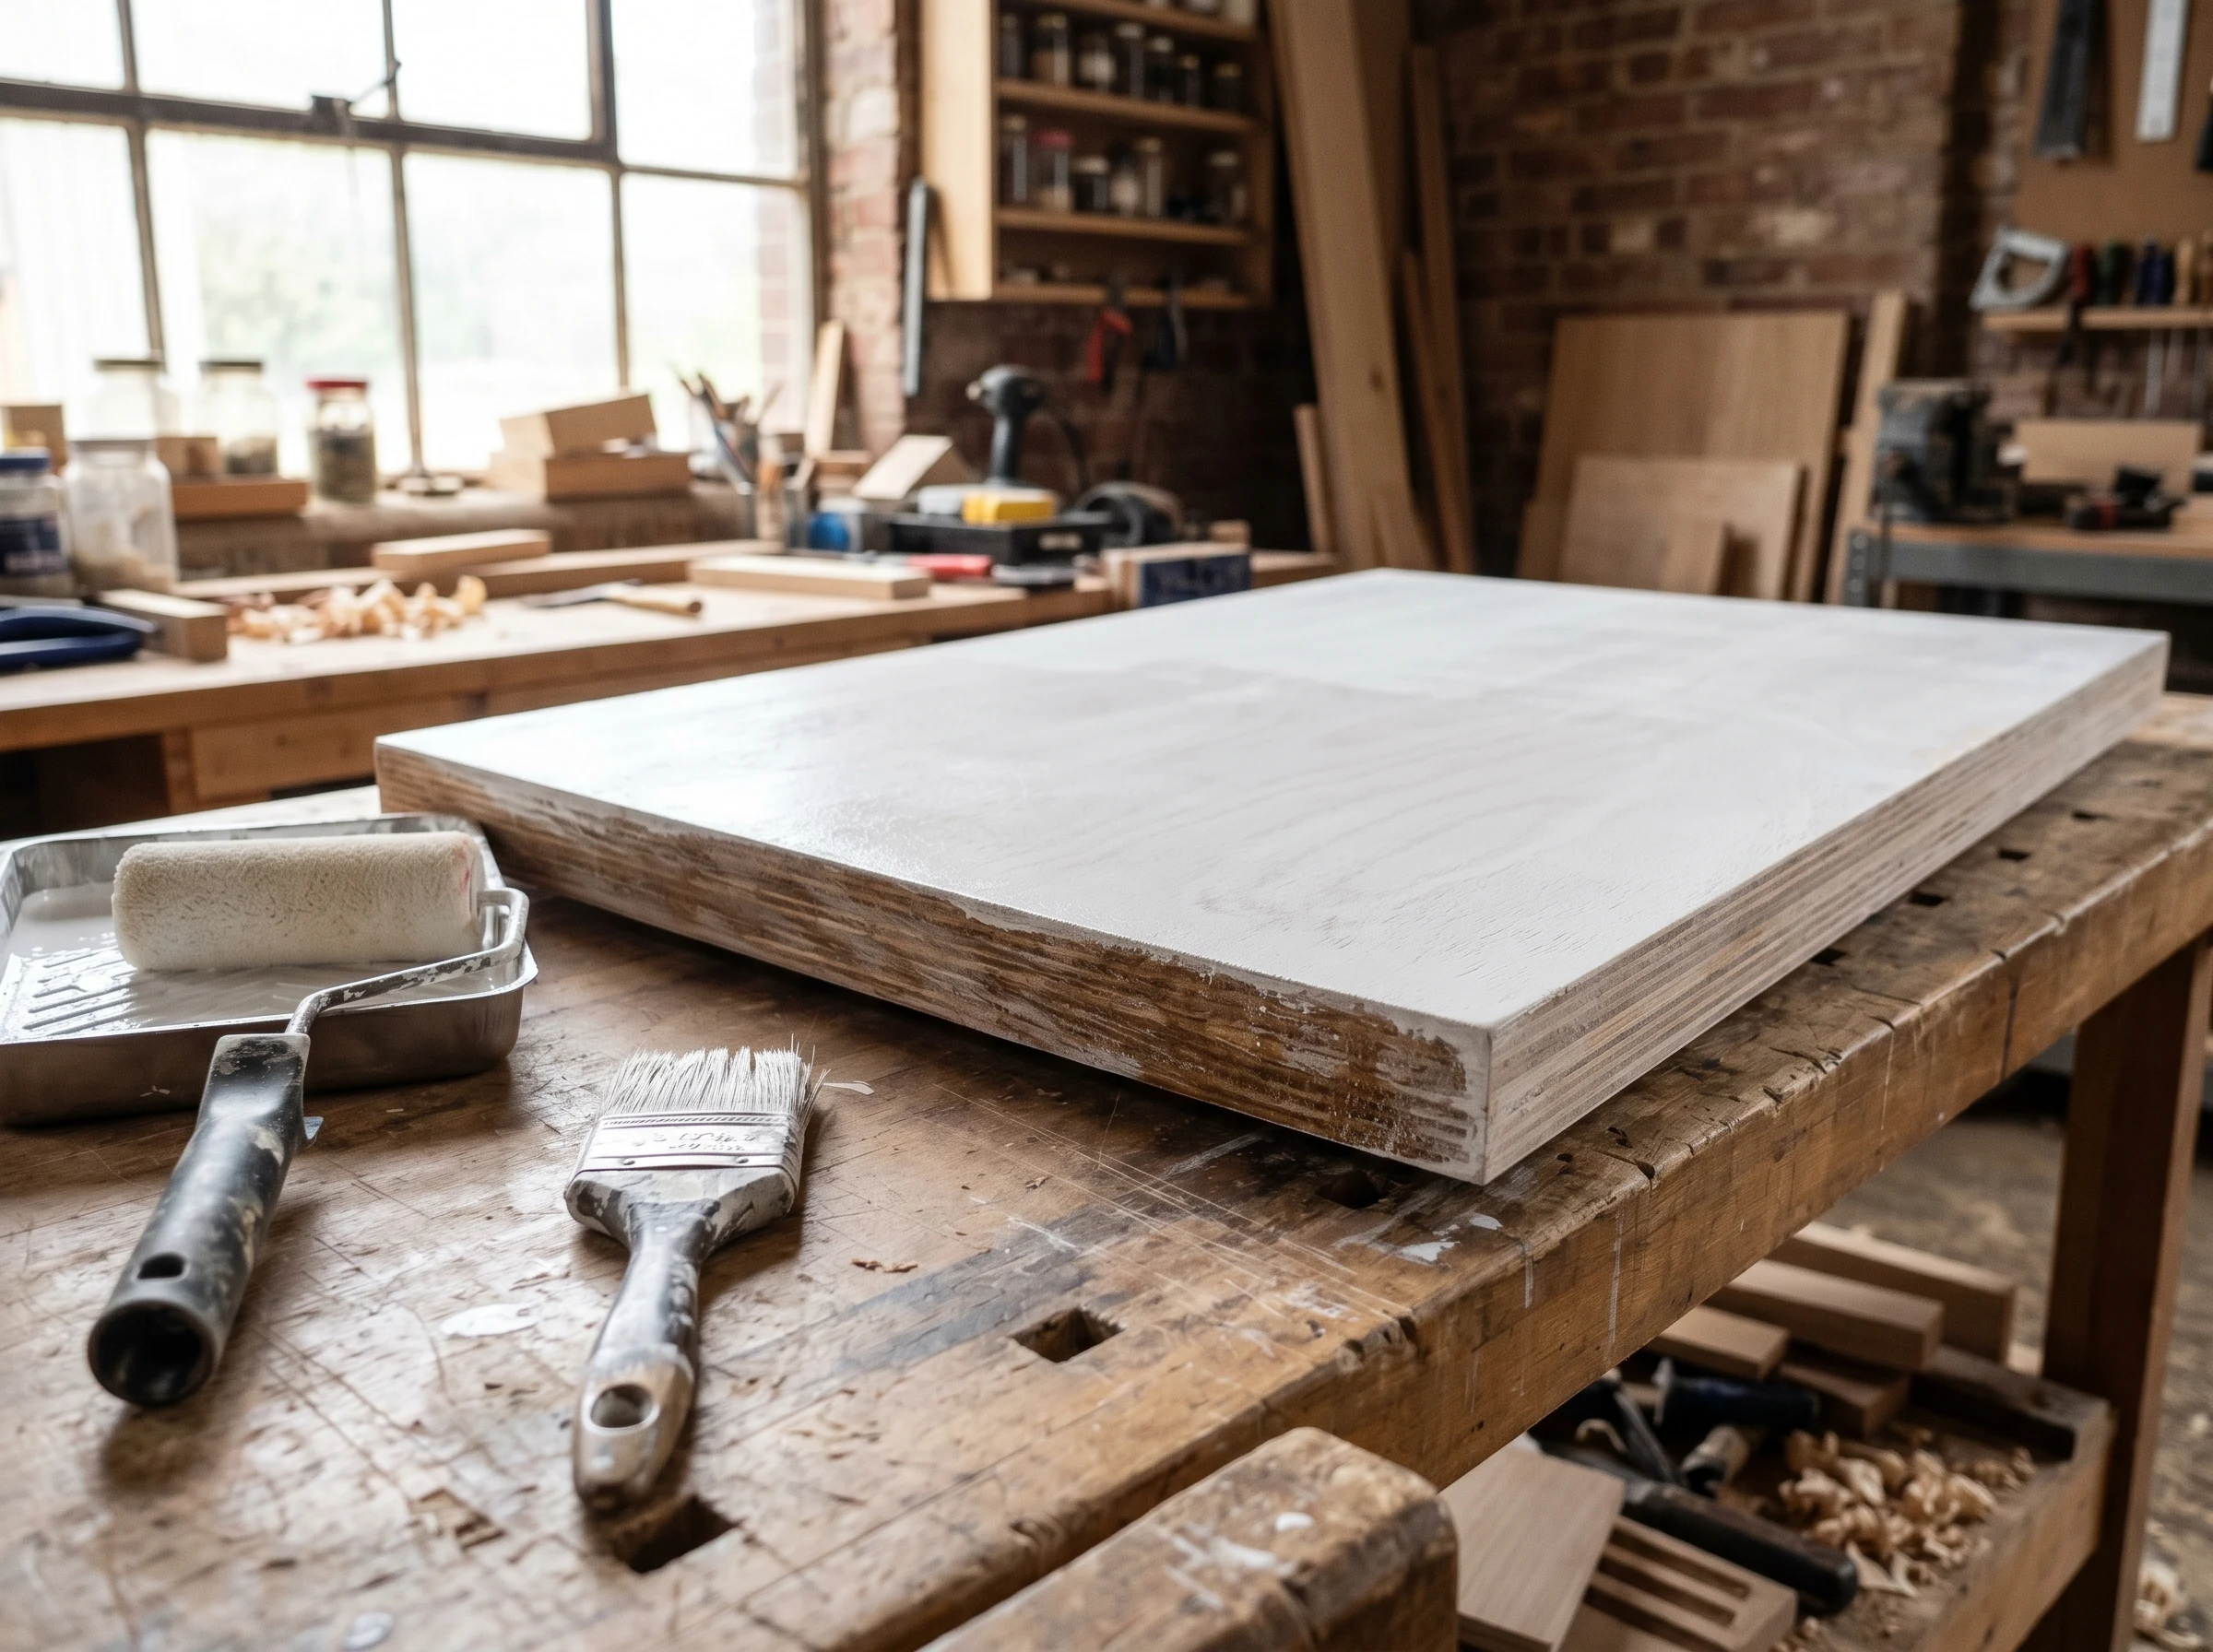
End grain hit first with a brush, then a full coat of bonding primer rolled across the face. Edges always drink first.
Brush a thin coat of bonding primer onto every cut edge of an interior plywood project. Let it dry. The edge will look matte and uneven, and that’s fine. You just want the end-grain saturated before the face primer goes on.
For interior plywood (cabinets, shelving, paneling, built-ins), Insl-X Stix or Zinsser Bulls Eye 1-2-3 across the whole panel. Stix bonds harder for high-touch surfaces; 1-2-3 levels slightly better and is cheaper. One full coat is enough if the edges were pre-primed properly.
For T1-11 exterior siding, the rules change. Brush or roll a full coat of Zinsser Cover Stain (oil-based, penetrating) onto the entire panel including the grooves. Cover Stain locks the saw-textured groove faces and the exposed end-grain at the top of the panel where rain runs down. PVA primer or paint-and-primer-in-one is too thin for T1-11. The wood drinks it, the binder doesn’t penetrate, and the topcoat peels at every horizontal joint in two winters. I see this every spring on T1-11 garages and barns. Use the oil. Ventilate, clean brushes with mineral spirits, accept the smell.
Step 4: First finish coat
Brush the grooves and edges, roll the flats. Don’t stop in the middle of a sheet.
Topcoat depends on the use.
Interior cabinets, shelving, built-ins: waterborne alkyd in satin or semi-gloss. Benjamin Moore Advance or Sherwin Emerald Urethane Trim Enamel. Foam roller for the face, 2-inch angled brush for edges and corners. Two coats. See Best paint for interior trim and doors for the SKU shortlist; the same picks apply to plywood cabinet work.
Interior paneling and accent walls: 100% acrylic in matte or eggshell. Lower sheen hides the plywood face grain better than satin.
T1-11 exterior: Benjamin Moore Aura Exterior or Sherwin Duration in satin or low-lustre. These are high-mil acrylic exteriors built to bridge cracks and hold film thickness on textured siding. Two coats minimum, back-rolled into the grooves with a 3/8-inch nap roller. Don’t try to get away with one coat on T1-11. The grooves trap water; one-coat coverage is a marketing claim, not a job spec. See Best exterior paint for current picks.
Brush the grooves first, roll the flats while the brush work is still wet, feather the edge. Don’t stop in the middle of a panel.
Step 5: Second coat and cure
Sixteen hours between coats on Advance. Four on Emerald Urethane. Eight to twenty-four on a high-mil exterior depending on temperature and humidity. Read the can.
Full cure on interior alkyd is fourteen to thirty days before serious wipe-down. T1-11 exterior cures slower because oil primer outgases under acrylic for weeks; expect thirty days before the system stops releasing solvent and the topcoat reaches full hardness.
Common mistakes
- PVA primer on bare T1-11. Result: thin film, poor penetration, topcoat peeling off horizontal seams in two winters. Fix is Cover Stain oil primer first.
- Skipping the edge pre-prime. Result: edges read darker and blotchier than the face under any topcoat. Fix is to scuff-sand, pre-prime edges, repaint.
- Painting fresh-cut plywood without sanding the saw burr. Result: fuzzy line along every cut once primer dries. Sand back, prime again.
- Latex primer on knotty pine or fir face. Result: amber knot rings within weeks. Always BIN every visible knot before the bonding primer.
- Skipping pre-stain conditioner before staining birch. Different job, but worth flagging. Birch stains blotchy without a conditioner. If you’re painting it instead, a bonding primer covers the same problem.
- One coat on T1-11. Result: grooves trap water, paint pulls away from the saw-textured faces, joints peel first. Two coats, back-rolled.
- Using interior plywood outside. Result: glue fails, plies delaminate, panel buckles. No paint system fixes wrong-substrate.
Maintenance & longevity
A properly painted interior plywood cabinet or shelf holds its finish 8–12 years. Watch the edges around handles and the bottom shelf where moisture collects. Touch up with a small brush from the same can.
T1-11 painted with the oil-primer-plus-high-mil-acrylic system holds 8–10 years on a south or west wall, 12–15 on north or east. Inspect the top end-grain edge of every panel annually. That’s where rain runs in and where peeling starts. Re-caulk seams. If the topcoat starts dulling and chalking after year seven, it’s time to clean, scuff-sand, and apply one fresh topcoat. The system underneath is still sound.
Self-priming exterior is a marketing claim. Your bare T1-11 still needs Cover Stain.